Restore Weathered Limestone: Step-by-Step Guide
Revitalizing weathered limestone is a task that goes beyond improving your home’s looks. It’s an act that shows we care about the environment. This guide will dive into how to restore limestone, especially steps made of marble or limestone. Years of weather have likely made them look dull or white. But, with this guide you can learn how to bring back their natural beauty.
Key Takeaways
- A comprehensive set of 9 diamond sanding discs provides different grit levels to smooth and polish limestone effectively.
- The author found that using a grinder at 10,000 RPM, although typically higher than recommended, produced significant improvements in just one day.
- Proper safety gear, including protective glasses, gloves, and face masks, is essential when sanding limestone or marble.
- Special cleaning products like Topps Tiles First Wash and Topps Tiles Colour Intensifier were used for optimal cleaning and protection.
- Limestone and marble can significantly benefit from regular maintenance and the right restoration techniques to preserve their natural beauty over time.
Introduction to Limestone Restoration
Limestone restoration is vital for keeping a home’s limestone looking its best. It tackles wear from natural and environmental causes. These include cracks, chips, and dullness. The guide for reviving limestone aims to restore the stone and its history.
This process involves cleaning, repairing, and sealing. It is key for homes, buildings, and historical sites. For those passionate about restoring limestone, it is very doable.
Restoring limestone is about preserving history. The choice of lime varies for different restoration needs, from NHL 2 to NHL 5. For pointing work, you’d use 4 parts of sand to one part of lime.
Addressing erosion, color changes, and texture issues is essential. Sealing helps against erosion caused by acid and moisture. With good care, limestone can last for generations.
| Classification | Description |
|---|---|
| NHL 2 | Feebly hydraulic |
| NHL 3.5 | Moderately hydraulic |
| NHL 5 | Eminently hydraulic |
Following the methods in this guide for reviving limestone leads to stunning results. It helps honor the heritage of your property. The guide is about more than steps; it brings life back to old stones, showing respect for their history.
Understanding Weathered Limestone
Limestone is loved for patios, countertops, and more. But, it can wear down from the environment. Knowing when limestone is weathered is key to fixing it early.
What Causes Limestone to Weather
Many things make limestone wear down. Acid rain is a big issue. It reacts with limestone, dissolving it. This leaves pits, cracks, and a dull look. Wind, water, and pollutants also hurt the stone.
Signs of Weathered Limestone
Seeing if limestone is weathered isn’t always easy at first. But, it gets worse without care. Look out for:
- Faded color: Once bright colors dull from acid rain and sunlight.
- Etching: Acids leave marks, making spots or etchings.
- Lime deposits: Chalky white marks show up from leached calcium carbonate.
Checking limestone often can find weathering early. Starting the limestone rejuvenation process in time helps keep it looking good.
Essential Tools and Materials
To start a limestone restoration project, know your tools and materials well. Having the right items will help the project go smoothly. Safety gear is a must to work without worry.
Tools You Will Need
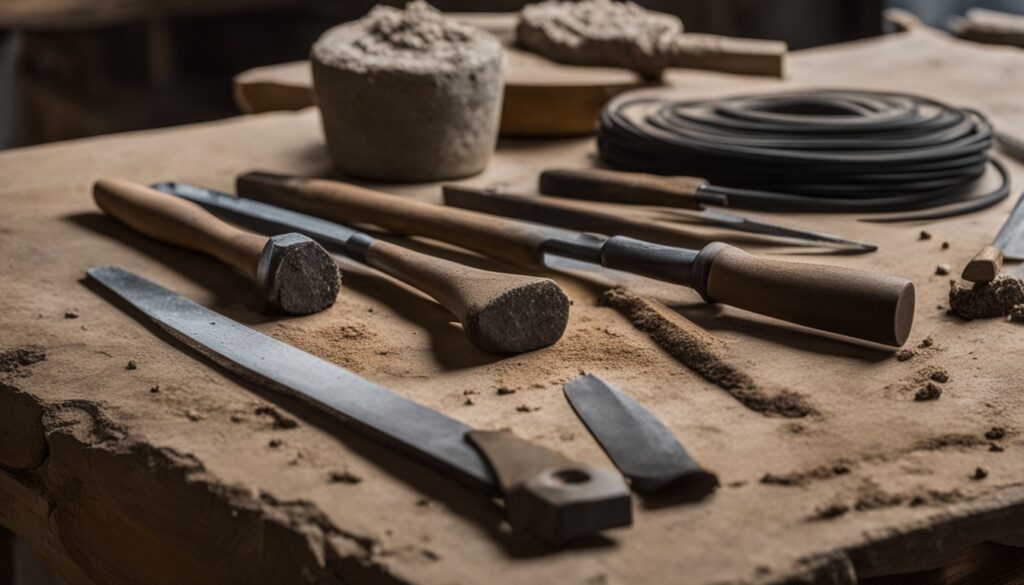
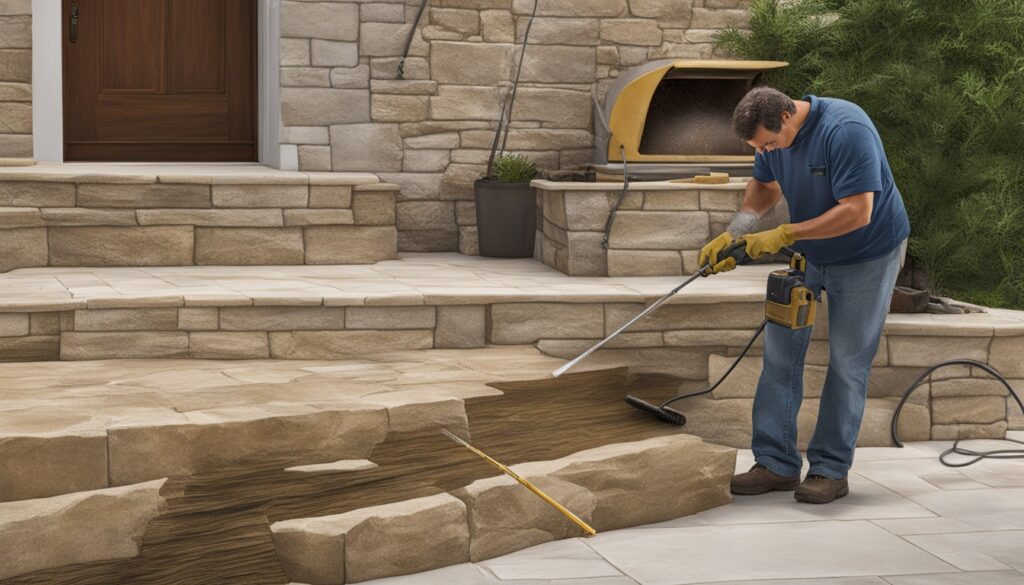
Limestone restoration tools include angle grinders and orbital sanders. You also need diamond sanding pads. For basic cleaning, use limestone cleaner, tape, and power washers. Don’t forget about plastic wrap, a broom, leaf blower, baking soda, towels, and sponge.

Safety Equipment
Don’t skip safety when restoring limestone. Essential safety equipment for restoration includes goggles, gloves, and face masks. Proper ventilation is key to stay safe from harmful fumes.
Recommended Cleaning Products
It’s crucial to pick the right limestone cleaning products for best results. Choose known brands like Topps Tiles for quality cleaners. Always test these products on a hidden spot first.
For tough stains, use items like baking soda or special poultices. The cleaning process involves sweeping, applying the cleaner, and sealing the surface at the end. This maintains the look and quality of your limestone.
Preparation Before Restoration
Getting ready for limestone restoration takes some key steps. It’s important to plan well and make sure everything is ready. This helps the restoration project go smoothly and get the best results.
Cleaning the Limestone Surface
Cleaning the limestone well is the first step of preparation. This cleaning starts with looking at the stone closely. It checks for any stains or deposits. A cleaner that won’t harm the limestone, like a pH-neutral one, is best for removing dirt. For tough stains like mildew, a mix of bleach and water can help.
Use a poultice for hard-to-remove stains. Leave it on for 24 to 48 hours. After cleaning, rinse the stone thoroughly with clean water. Make sure all traces of cleaning products are gone. This step gets the stone ready for the next restoration steps.
Setting Up the Work Area
Setting up a restoration workspace means making it safe and efficient. First, cover areas around the work with drop cloths. This keeps other parts safe from any mess or harm.
Have all tools and materials close by in your workspace. This means diamond sanding pads, angle grinders, and more. Good lighting and fresh air are very important. Always wear gloves, goggles, and a mask to stay safe from dust and debris.
A well-organized work area is key for safety and quality work. When everything is set up right, you’re all set to start restoring the limestone. Table:
How to Restore Weathered Limestone: Step-by-Step Guide
Restoring weathered limestone is a detailed process. It can greatly improve your stone’s look and life. We’ll guide you through key steps, from start to shining finish.
Initial Sanding and Grinding
First, sand and grind to take off the top layer. Use a rough diamond pad, 50 to 100 grit, to remove old finishes and deep damage. Make sure your sanding discs spin at around 4000 RPM for best results without losing control.
Progressing Through Grit Levels
After the initial stage, go for finer grits to make the limestone really smooth. Move from 200 to 800 grit, step by step. Each step removes the scratches left by the last level, getting the surface ready for its final shine.
Final Polishing
The last step is polishing. Use diamond pads up to 3000 grit to get a super smooth, shiny finish. This isn’t just for looks. It also makes the surface very durable and resistant to scratches. You might also want to buff it with a polisher for a top-notch outcome.
Here’s a look at how different grit levels help with limestone restoration:
| Grit Level | Function |
|---|---|
| 50-100 | Initial sanding and grinding to remove severe surface damage. |
| 200-400 | Intermediate stages for smoothing out scratches and imperfections. |
| 800-1000 | Pre-polishing to prepare the surface for the final stages. |
| 1500-3000 | Final polishing to achieve a high-gloss, smooth finish. |
Following these steps can restore limestone’s beauty and make it last longer. You’ll turn dull, old surfaces into beautiful, shiny stone.
Dealing with Specific Issues
Restoring limestone means fixing issues like fading and cracks. It also includes dealing with discoloration and spalling.
Fading and Discoloration
To fix faded limestone, clean carefully. Use the right products too. For discoloration, a mix of bleach and water is good. A 1:4 ratio works well for organic stains.
Let a poultice sit for 48 hours for tough stains like oil. Then use pH-neutral cleaners to protect the stone.
Repairing Cracks and Spalling
Stone repair kits are needed for limestone cracks. Follow the manual, letting the adhesive dry for 24 hours. For spalling, flood the stone with lime water to make it stronger. Don’t use Portland cement in repairs to avoid damage.
Here’s a table of what to do:
| Problem | Solution | Time/Ratio |
|---|---|---|
| Organic Stains | Bleach & Water | 1:4 Ratio |
| Stubborn Stains | Poultice | 48 Hours |
| Minor Chips | Stone Repair Kit | 24 Hours Drying |
| Spalling | Flooding with Lime Water | N/A |
Following these fixes is vital for a good restoration. This helps the limestone stay strong and pretty.
Sealing and Protecting Restored Limestone
After you’ve put the time and effort into restoring your weathered limestone, sealing it is key. This step helps to keep it looking good and lasting longer. With hard work, like using diamond sanding pads, or polishing, the right sealant makes a big difference. It helps your stone stay attractive and strong.
Importance of Sealing
Sealing your stone is very important. It blocks moisture, stains, and other harmful elements. These can make the stone look bad or break down. A good sealer also enhances the limestone’s natural colors and patterns. So, it helps your restoration work stay beautiful and protected.
Recommended Sealers
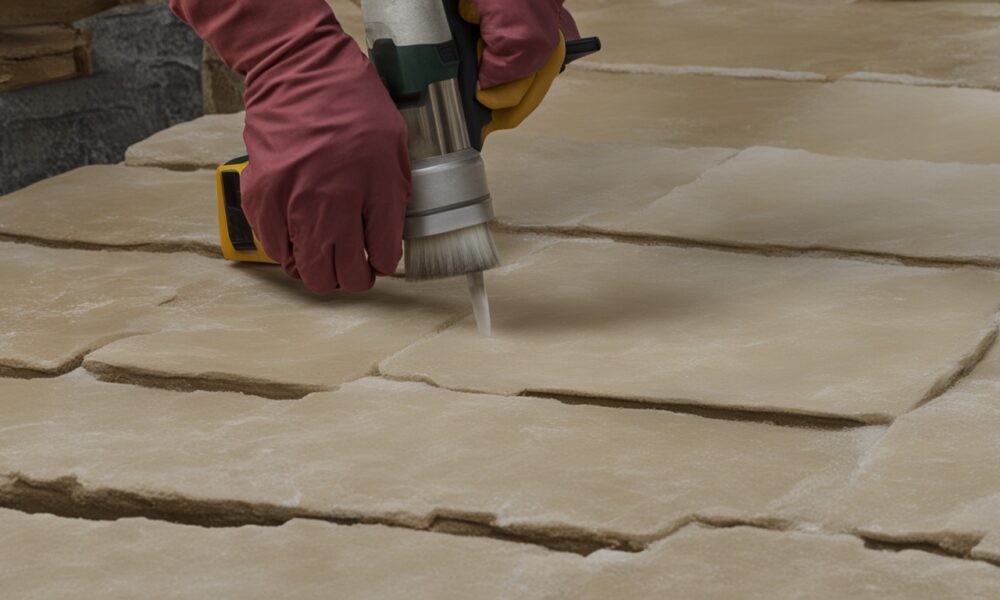
Looking for a good sealer? SmartSeal’s black limestone sealer is a top choice. It’s known for being strong and easy to use. These sealers go deep into the stone, protecting it well. They also highlight its original beauty. Follow the sealer’s instructions carefully for the best outcome. Cleaning the stone well before sealing ensures it works better.
By sealing your restored limestone, you can relax knowing it will look great for a long time. For more sealing tips, check out this detailed guide.
Maintaining Restored Limestone Over Time
After you’ve had your limestone restored, caring for it is crucial. Regular cleaning and checks are necessary. These steps will keep your limestone looking great and last longer.
Regular Cleaning Tips
To keep your limestone in top shape, clean it gently and often. Always use gentle cleaners made for stone. They get rid of stains but won’t hurt the stone.
Quickly dealing with mold, mildew, and algae is also key. It’s especially important in places like your bathroom, kitchen, and outside patios. Alkaline cleaners help get rid of dirt on natural stones. And don’t forget to fully dry your limestone after cleaning to avoid water damage.
Periodic Inspections
Make sure to check your limestone regularly. Inspections can help you find and fix problems early. It’s smart to have a pro look at your limestone once a year to make sure it’s okay.
Places with a lot of people walking and bad weather need more attention. With regular care, like sweeping and having it resealed, your limestone will stay beautiful. A good sealer makes the stone last longer and look better, keeping your home’s charm alive.
Limestone Restoration Tips and Tricks
Whether you’re a homeowner or a pro, knowing the right expert limestone restoration advice is key. It helps a lot to understand the do’s and don’ts of working with limestone. This means picking the right tools and using the best methods for maintenance.
Having the correct tools is vital for any limestone rejuvenation project. A set of diamond sanding pads, found on Amazon, with 9 discs is essential. It ranges from 50 grit to a polishing pad. Remember, these discs are good at 4000 RPM. But, pros might use a faster 10,000 RPM with an angle grinder. Be careful not to over-grind with high RPMs.

One technique for limestone maintenance is careful sanding. This needs about 4 passes for each grit starting from 200. A methodical sanding approach makes the limestone surface even. A full restoration step can take a day with the right pace and focus.
Experts suggest special products for washing and sealing. Topps Tiles First Wash cleans well. The Colour Intensifier from the same brand works for sealing and color pop.
Dealing with whitening on limestone is important. It happens naturally over time and with weathering. Both marble and limestone can change color if not cared for. Using the right cleaning and sealing techniques helps keep their beauty.
To wrap up, with the right pro tips for restoring limestone, even big projects can be handled. Good tool choices and methods, along with regular upkeep, will lead to great results. So, follow these tips to make your restoration work much smoother.
Conclusion
Restoring limestone is all about knowing its history, using the right methods, and having the proper tools. This guide showed you the steps and advice needed to make old limestone look new. We mentioned products like Floorseal Patio Cleaner Plus and Floorseal Natural Stone Sealer Breathe to help you get a great finish.
Your takeaway should be to always take care of black limestone. Regular checks and re-sealing every one to two years will keep it looking good. Know what can harm your stone and avoid those things. With the right maintenance, your limestone will last a long time.
Restoring limestone is a way to honor its history and beauty. Now that you know how, you can keep your limestone features looking their best. Use what you learned here to make your limestone last for many years.


