Repair Guide: How to Repair Natural Stone Steps
Homeowners love how natural stone steps boost the look and feel of their homes. But time and weather can damage them. Whether you face a small crack or a loose piece, DIY repairs can be rewarding. Fixing these steps isn’t just for looks; it’s also for safety and keeping them in shape for years. This guide will help homeowners keep their outdoor steps beautiful and safe.
Key Takeaways
- Inspect stone steps regularly for early detection of potential issues requiring repair.
- Employ epoxy adhesives for a strong, durable fix in natural stone step repair.
- Evaluate alternate methods like drill and pin or cement adhesives for specific repair scenarios.
- Consider professional masonry services for complex stone step restoration needs.
- Understand the influence of weather on natural stone deterioration and take preventive measures.
- Maintain the structural stability of stone steps for safety and visual integrity.
Understanding Natural Stone Step Deterioration
Natural stone steps have a strong charm and are very durable. Yet, they can still be worn down by time. Homeowners should follow maintenance tips for natural stone steps to keep them functional and beautiful. Doing so can greatly extend the lifespan and aesthetic beauty of these steps.
The Effects of Weather on Natural Stone
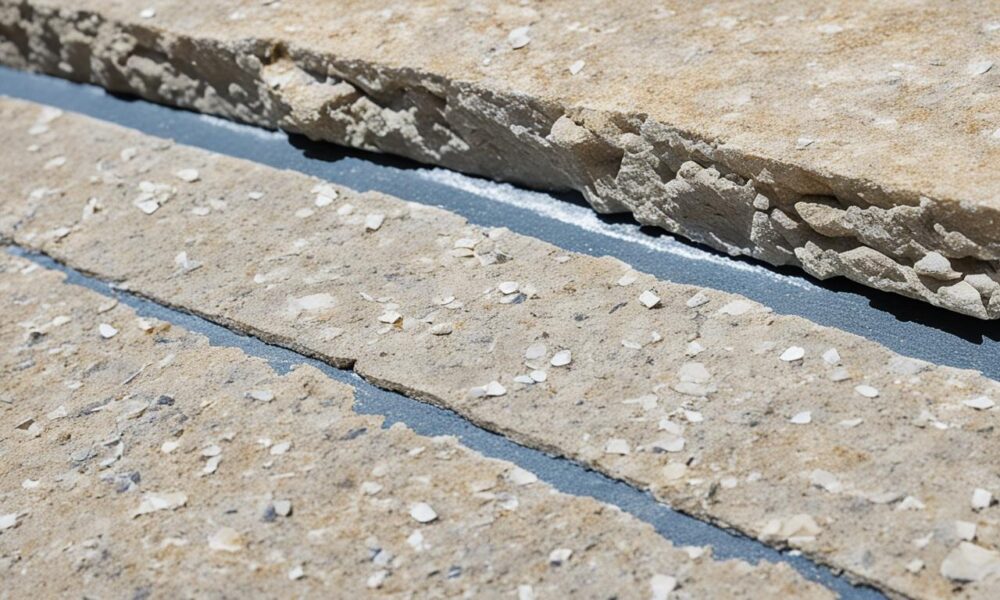
The weather has a big impact on natural stone steps. In places with changing climates, like Hampton Roads, the weather goes from hot to cold and back. Moisture can seep into the stone, freeze, and then thaw. This process can harm the stone and weaken the mortar. That’s why restoring worn stone steps is an ongoing job for those living in such areas.
Common Issues: Loose Stones and Crumbling Mortar
Loose stones and crumbling mortar are common problems with natural stone steps. Materials like sandstone are porous and can loosen from their base over time. Owners should check each stone to see if it’s secure or needs replacing. The edges of the steps, being more prone to wear, are particularly important to check. This helps prevent accidents and keeps the steps looking good. Learning how to repair natural stone steps is key for safety and maintaining your property’s look.
| Maintenance Activity | Benefits | Frequency |
|---|---|---|
| Inspecting stone and mortar integrity | Preventative care to identify early signs of wear | Bi-annual |
| Cleaning stone surfaces | Removal of debris and moisture that can cause decay | Annual or as required |
| Repointing joints | Restores the structural stability of the steps | Every 5-10 years or as needed |
| Applying sealant | Provides a protective layer against moisture and freeze-thaw cycles | Every 2-3 years or according to product guidelines |
Following maintenance tips for natural stone steps helps homeowners reduce damage. This care keeps the steps safe and looking great for a long time.
Initial Assessment and Pre-Repair Preparations
Starting to fix your property’s stone steps involves a careful check. Both skilled individuals and homeowners understand it’s vital to see what needs fixing first. This strategy helps to keep your walkways looking great with little effect on their original beauty.
Identifying Loose or Broken Stone Steps
When fixing stone steps, looking at each step closely is key. We check how steady they are and if they’re damaged. It’s important to know how much repair work is needed. Checking your steps in milder seasons, twice a year, is best for safety.
Tools and Materials Needed for Stone Step Repair
Having the right equipment is crucial for good repair work. Knowing what you need with a checklist shows you’re ready to start. Here’s a list of tools and materials that are useful.
| Tools | Materials |
|---|---|
| Masonry Chisels | Mortar Mix |
| Mason’s Hammer | Concrete Additive |
| Masonry Brush | Matching Stone (if needed) |
| Assorted Trowels | Resin (for epoxy application) |
| Concave Jointers | Cleaning Solution |
| Soft Bristle Brushes | Repointing Mortar |
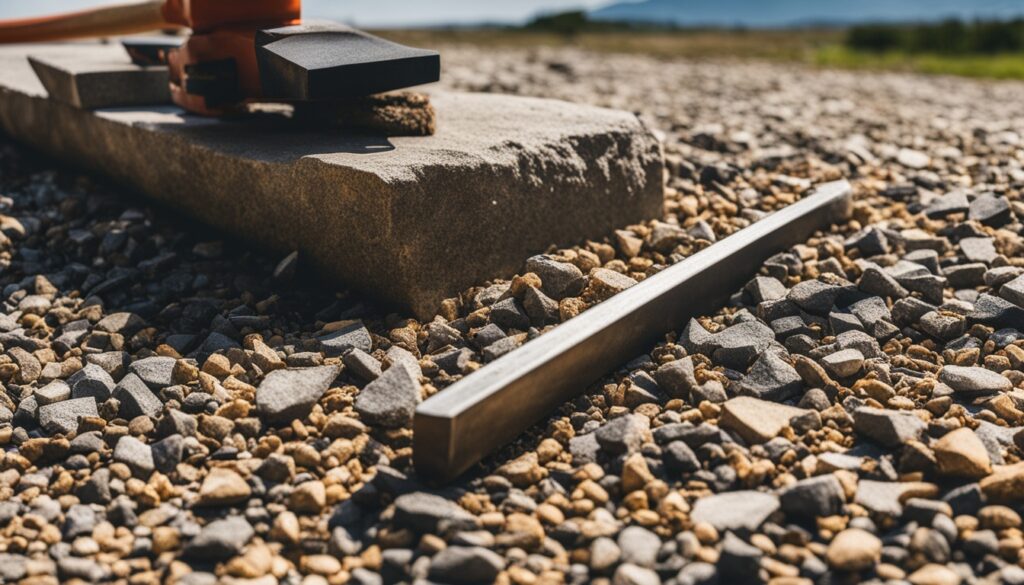
With your tools and materials ready, fixing your steps will be smooth. Use chisels and hammers to remove and put back stones. The masonry brush cleans, while trowels help with the mortar perfectly. Jointers and brushes finish the job so it looks great.
These methods ensure your steps stay well-connected to your home. They end up safe and welcoming for all who visit.
Cleaning and Removing Damaged Components
Looking into how to repair natural stone steps starts with cleaning and removing broken pieces. This first step is critical. Cleaning ensures no debris or old mortar hampers the repair. The work begins by carefully removing mortar joints, all while keeping the stone safe.
The next step involves loosening old mortar and taking out damaged stones. Then, the cleaning starts. A masonry brush soaked in water is used to clean the base concrete. This isn’t just for cleanliness. It prepares a good base for new mortar, leading to strong, smooth steps.
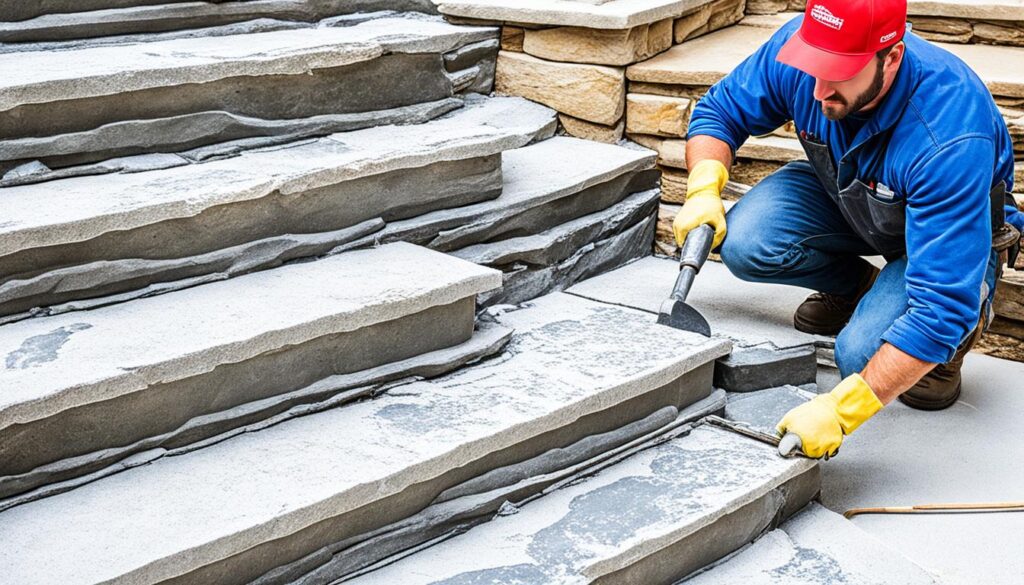
The goal is avoiding future problems as much as fixing current ones. Paying attention here means the steps will be solid and look good for years. After cleaning, checking, and leveling the steps, they’re ready for new materials. This brings back their original stability and charm.
- Inspect all stones and mortar, identifying areas for removal.
- Chip away old mortar with care to protect the stones.
- Sweep and wash the base surface to ensure a clean bonding area.
- Check the uniform height and leveling to prevent future loosening.
By following these steps closely, both homeowners and contractors can be sure of a strong start. This is key to successful stone step restoration.
How to Repair Natural Stone Steps with Epoxy Adhesives
Making your entrance or patio look great again is easy with the right natural stone step repair methods. Epoxy adhesives are a top choice for mending stone steps that have seen better days. This do-it-yourself method gives your steps a durable fix and is easy to use, promising lasting beauty.
Mixing and Applying Epoxy for Maximum Bonding
To get the best bond, it’s key to mix epoxy adhesive and hardening resin well. You should mix these in equal parts, just as the maker’s instructions say. This strengthens the stone’s connection to its base and makes the repair stable and reliable for a long time.
The Role of Resin in Stone Repair
The resin in the epoxy mix is crucial for fixing stone steps right. It boosts the glue’s power to hold the stone, ready for any wear or weather. When you apply this mix carefully to damaged spots, your steps get fixed without needing to replace all the stones. They’ll look good and work well, too.

